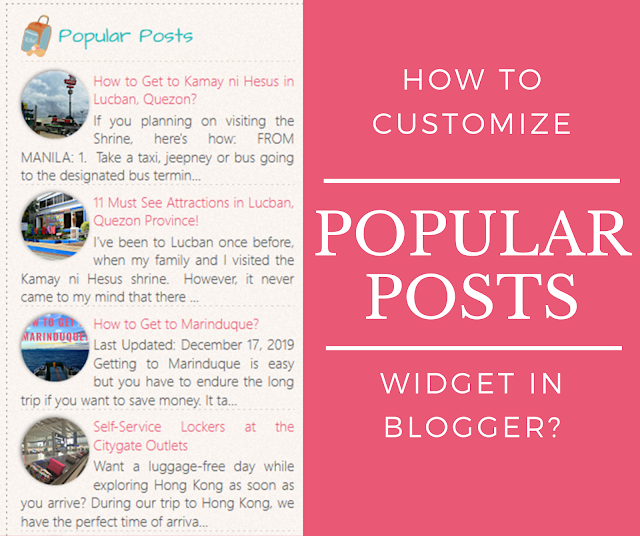
That's because the customization is all connected to your blog default color design. When you change the font color of the body of your post, it also changes the color of the font color or hover color of the Popular Post.
Let me share with you on how to separately customize how the Popular Posts in your blog:
1. Log-in to your Blogger Account >> Select a Blog you want to Edit >> Click Theme >> Edit HTML. The look of the new Blogger Editing window have change. The Edit HTML can be found by clicking the 3 horizontal dots on the top-right side of the window and then click Edit HTML.

, then copy and paste the the below code just above it.
.PopularPosts {background: none}Depending on what color you want, you can now easily change the colors, font and how you want it to look like.
.PopularPosts img
{padding:0px;
border-radius: 100%;
-moz-transition: all 0.2s ease-in-out;
-webkit-transition: all 0.2s ease-in-out;
-o-transition: all 0.2s ease-in-out;
transition: all 0.2s ease-in-out;
box-shadow: -1px -1px 4px #8a8a8a;padding:0;}
.popular-posts ul
{margin: 0 !important;
padding: 0 !important;}
.PopularPosts .widget-content
{font-size: 15px;
margin: 0 !important;
color:#555;}
.popular-posts ul li
{list-style: none;
border-bottom: 1px dashed #ccc;
padding: 0 !important;
margin-top:8px;}
.popular-posts ul li:hover
{background: none;
text-decoration: none;}
.popular-posts ul li a
{color: #e95875;
display: block;
font-weight:normal;}
.popular-posts ul li a:hover
{color: #31bbbb;
text-decoration: none;}
If you need help in the customization, just send me a message :)


0 Comments:
Post a Comment
Thank you for reading! Please share and like my Facebook page :)